Selling a T-shirt, cassette or signed print can give listeners another way to support your music. It also creates real work. You need stock, accurate photos, packaging, shipping prices and a reliable way to answer buyers. This Bandcamp merch for musicians guide helps you prepare those details before your shop goes public.
Bandcamp gives artists tools to list physical items and manage orders, but it does not make, store or ship the products for you. Treat the shop like a small fulfilment system, not just another release post. The seven steps below will help you build a clear product page and avoid common surprises.
1. Start with an item you can actually fulfil
Choose one item that you can store, pack and post without stretching your time or budget. A small run of shirts, CDs, cassettes, posters or stickers is easier to test than a crowded shop. Have the finished item in hand before listing it, unless you are clearly running a properly planned pre-order.
Bandcamp separates physical music formats from non-musical merchandise. A vinyl record, CD or cassette is attached to an album, while apparel and other products can be listed as separate merch. Pick the correct type so fans understand what they are buying and the item appears in the right place.
Read Bandcamp’s official guide to selling merch
2. Work out the full cost before choosing a price
Your selling price needs to cover more than the product itself. Add printing or manufacturing, packaging, labels, payment and platform costs, replacement stock and the time needed to fulfil orders. Keep shipping separate so a nearby fan is not quietly paying for a distant order.
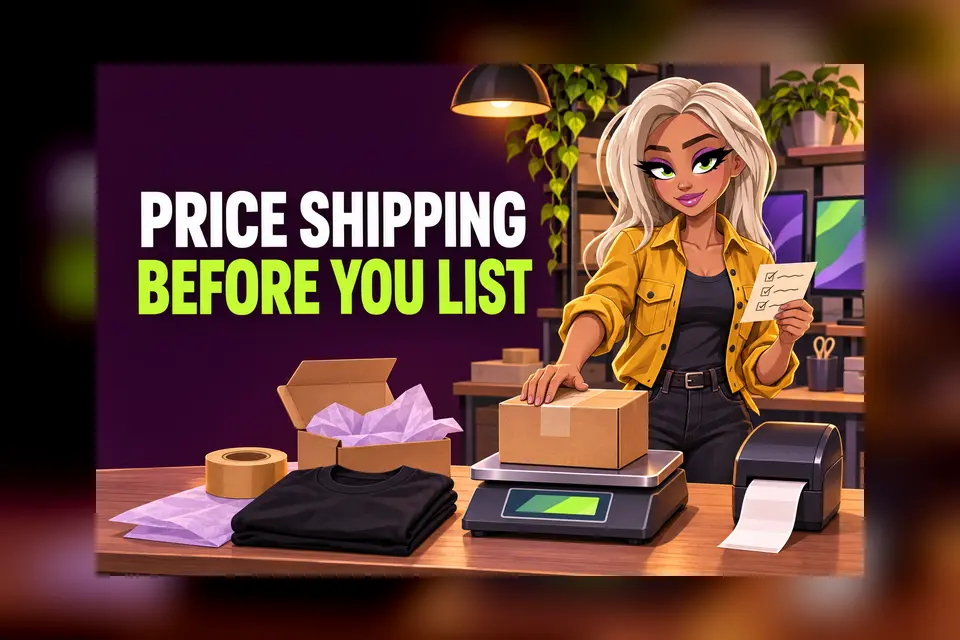
Pack one finished sample exactly as you would send it. Weigh and measure the parcel, then check current prices with the carrier you plan to use. Repeat this for each product size. A folded T-shirt and a mug can need very different boxes, protection and postage.
3. Take useful product photos
Bandcamp recommends at least one image and uses the first photo as the product’s main image in the merch grid. Its product photos use a 4:3 landscape format. Take pictures in good light and show the real item from more than one angle. Include close details such as print texture, sleeve artwork or a signed area.
Avoid using only a mock-up when the final product already exists. Fans need to see the colour, scale and finish they will receive. For clothing, state the fit and add a simple size guide. For records or cassettes, explain the format, colour variant and what is included.
4. Write a description that prevents questions
Use the product title to say exactly what the item is. In the description, cover the material, size or dimensions, colour, edition, contents and expected dispatch time. Say whether the item is signed, handmade or limited, but only when that is true. If you have shipping limits, explain them clearly before checkout.
Keep important details near the top rather than hiding them in a long story. You can still explain how the item connects to the music, but practical information comes first. Check the page on a phone before publishing and ask someone else to read it as a buyer.
5. Set stock and variants carefully
Enter the real quantity available for every size or variant. Bandcamp automatically reduces the quantity as items sell. A blank quantity means unlimited stock, while zero marks the item as sold out. Update the numbers when you also sell merchandise at gigs or through another shop.
Give each option a clear name, such as Small, Medium, Large or Black Vinyl. Do not combine unrelated products into confusing variants just to keep the shop shorter. When stock is limited, keep a small reserve for damaged parcels, exchanges or mistakes.
6. Build realistic shipping rates
Bandcamp lets you set a price for sending one item and an additional amount for each extra item in the same order. Configure the regions you can serve and use the packed sample weights you checked earlier. Do not guess a cheap rate and hope the difference is small.
If you ship from more than one location, Bandcamp supports multiple origins with separate inventory and rates. Make sure each origin is correct because location can affect delivery choices and tax handling. Review carrier prices regularly, especially before a new release or international campaign.
Check Bandcamp’s multiple shipping origin guidance
7. Prepare the order routine before launch
Bandcamp’s Merch Orders page is the main place to see physical orders, buyer details and shipping status. Decide who will check it, how often parcels will go out and where packing materials are stored. Keep the fan contact email current so questions do not sit unanswered.
After posting a parcel, mark the order as shipped and add tracking details or a useful note when available. Bandcamp then emails the buyer. Keep receipts, tracking numbers or another proof of shipment. If an order is delayed, a clear update is better than silence.
Use Bandcamp’s official fulfilment checklist
Connect the shop to your music
Bandcamp allows you to include a digital track or album download with a physical item. Use that option when it genuinely adds value and make the included music clear. A merch launch can also support a release, listening party or gig, but the product page should still make sense to someone who finds it later.
Before opening the shop, run one test from start to finish. Check the item page, price, variant, stock, shipping charge, confirmation message and order routine. Then share one clear link with photos of the real product and a short reason it matters.
Prepare the rest of your Bandcamp release page
Use Bandcamp download codes for direct fan rewards
A simple shop is easier to trust
You do not need a large product range to start. One well-described item with accurate stock, sensible shipping and dependable updates is more useful than ten listings you struggle to fulfil. Prepare the system first, publish privately while checking it, then open the shop when every part is ready.