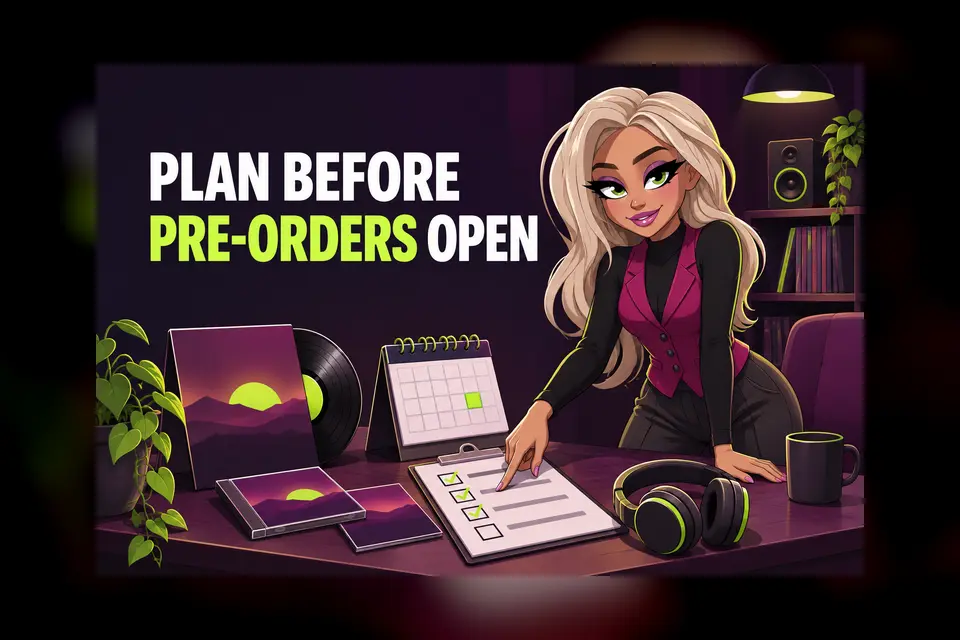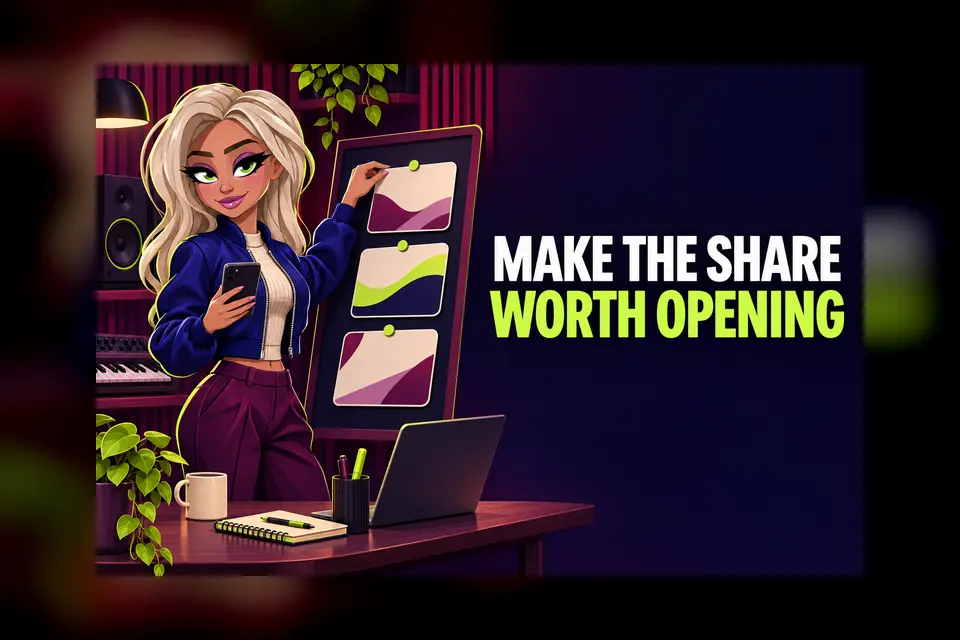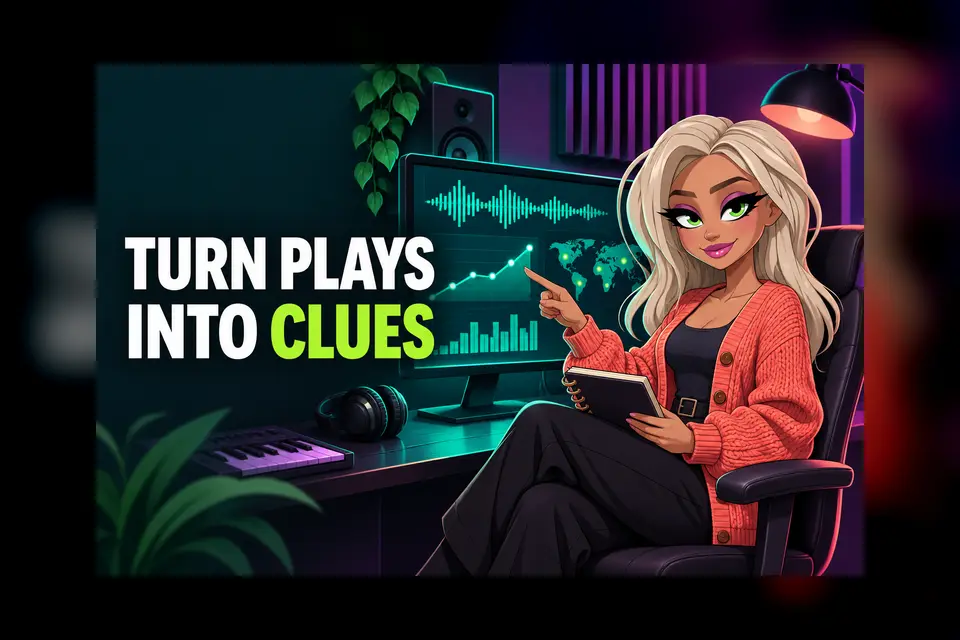
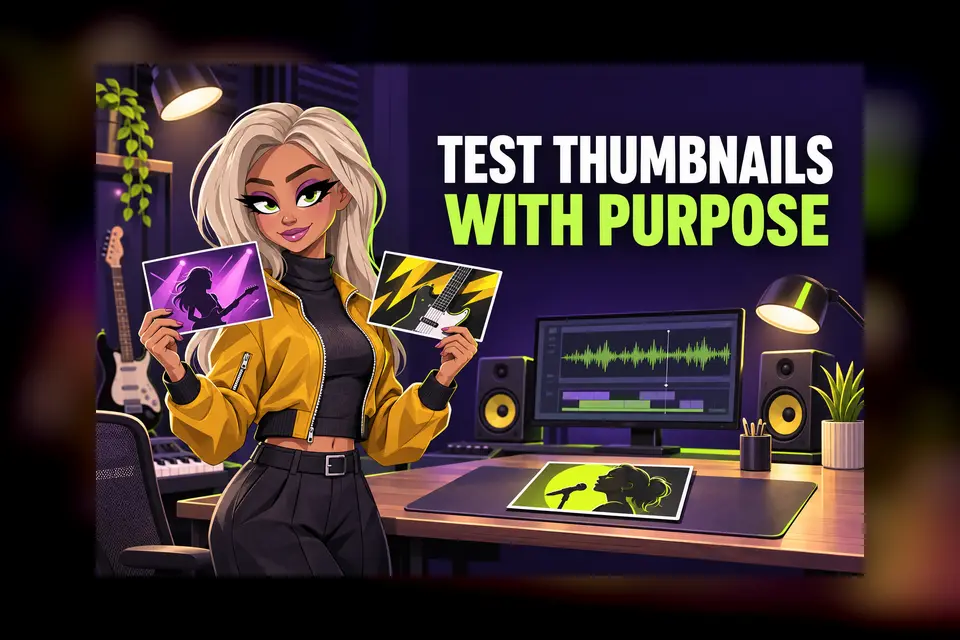
A YouTube thumbnail test for musicians can help you compare different ways to present a music video, live session or studio story. It is not a promise that one picture will suddenly transform a release. The useful part is learning whether viewers respond differently when the same video is presented with a different visual idea.
YouTube’s current A/B testing tool can compare up to three titles, thumbnails or title-and-thumbnail combinations. It chooses results using watch time share rather than clicks alone, because the platform wants a thumbnail and title to help people understand what they are about to watch. Use the seven checks below to build a fair test and read the result without forcing a winner.
Read YouTube’s official A/B testing guide
1. Check that the video is eligible
Open YouTube Studio on a computer and check that advanced features are enabled for the channel. YouTube says A/B testing is currently a desktop feature. It is not available for Shorts, scheduled live streams or Premiere videos while they are still Premieres. A Premiere can become eligible after the event ends and it converts to a normal long-form video. Videos marked for children, mature audiences or private use are also excluded. Confirm the format before asking a designer for three options you cannot test.
2. Choose one video with a useful question
Start with a real question about presentation. Perhaps one thumbnail shows the artist performing while another focuses on the song’s visual story. Maybe a studio session needs to decide between a close face and a wider band shot. Avoid testing three versions simply because the tool exists. Pick a long-form video that still receives enough impressions to give the experiment a chance to learn. YouTube notes that low impressions can leave a test without a clear winner.
Organise long-form videos with YouTube playlists
3. Make the options meaningfully different
Create two or three ideas that express the same honest promise in noticeably different ways. Change the main subject, background, framing or short text rather than moving one small element. YouTube says very similar options may not produce a measurable difference. Keep the artist name, visual identity and song context recognisable, but let each version answer the viewer’s first question differently. One might sell the performance, another the emotion and another the setting.
- Performance angle: a clear moment from the singer or band.
- Story angle: one image that represents the video’s central idea.
- Setting angle: the unusual studio, venue or location that gives the video character.
4. Keep every option accurate
A different creative angle should not become a false promise. Do not show a guest who barely appears, imply a live performance when the video is a lyric visualiser or add a dramatic claim the video cannot support. YouTube’s title guidance says the wording should accurately represent the video. The same principle applies to the image. A click that quickly turns into an exit is not useful attention, which is one reason the native test looks at watch time share.
Write a clear YouTube music video description
5. Inspect every thumbnail at small size
YouTube recommends a 16:9 image for standard video thumbnails and says custom thumbnails should be as large as possible. Its current help page recommends 3840 by 2160 pixels, with a minimum width of 640 pixels, using formats such as JPG or PNG. Technical size is only the start. Shrink each option until it resembles a phone card. Check that the face or subject is clear, any words remain readable and the background does not swallow the main idea. Remove tiny credits and extra logos that belong in the description.
Check YouTube’s current custom thumbnail guidance
6. Start the test and leave it alone
In the video details, choose A/B Testing under the title or thumbnail area, select what you want to compare and upload up to three options. Then let the experiment run. YouTube warns that changing the video’s title or thumbnail during the test stops it, so brief everyone who manages the channel. Do not let one team member replace the artwork halfway through because a comment preferred another version. Keep a dated note of the options and the question you wanted the test to answer.
7. Read the result without inventing certainty
YouTube says a test should finish within two weeks. The report may show Winner, Performed Same or Inconclusive. A winner clearly outperformed the other options using watch time share. Performed Same means the differences were not clear enough to separate the options. Inconclusive means the test did not find a strong statistical difference, often because the choices were too similar or the video did not receive enough impressions. The first option becomes the default when there is no conclusive result, but you can still choose another image manually.
Use end screens to guide the next useful watch
A simple test record
Keep one short note for each experiment. Record the video, test date, three creative ideas, result and what you will try next. Do not turn one result into a permanent rule for every song. A performance thumbnail that worked for a live session may not suit an animated lyric video. Look for repeated lessons across several comparable uploads, while allowing each release to keep its own identity.
- State the question before designing the options.
- Use two or three honest and visibly different ideas.
- Check every option at phone-card size.
- Avoid title or thumbnail changes while the test runs.
- Record Winner, Performed Same or Inconclusive accurately.
- Use the result as evidence for the next test, not a guarantee.
A YouTube thumbnail test for musicians is most useful when it improves how clearly a video introduces itself. Give the test a specific question, keep the options honest and let the platform collect enough information. The result can guide your next design decision, even when the honest answer is that the options performed about the same.